How to take the Perfect Plant Pic for Instagram
Whether you have a large collection of plants or a few prized green friends, every plant parent should know how to take great photos of their plant babies for the family album... or Instagram! So to help you with this we’ve put together our top tips for taking the perfect Plant Pic for Instagram.
Before we kick things off, we’d just like to start off with a disclaimer; You don’t need to have a fancy camera to take great photos! You can get great results by just using your smartphone.
5 BASICS OF TAKING PICS
Let's kick off by looking at some of the Basics of Taking Pics...
1. READ THE HOW TO MANUAL
Learn what your camera can do! Whether you are using your smartphone or a full on camera with interchangeable lenses to snap your plant pics, you need to spend some time playing with the settings, trying different combinations, taking photos in a variety of light situations and making adjustments as necessary. Some smartphones can adjust well to scenes with little or harsh light whereas others can not. It’s important to know just how far you can push your tools.

2. NATURAL LIGHT IS YOUR FRIEND
Just like most houseplants, the trick to taking great photos of your plants is bright, indirect light. Full, direct sun can be tricky to photograph in, as the sun creates harsh shadows on your plant and ‘blows out’ finer details in your photos. On the other hand, not enough light will result in blurry, out of focus or dull photos. If you have a large window that you can set your plants up next for photos, then you have a winner! Soft, bright side lighting creates gentle contrast on your plant and helps the plant look more 3D (less flat). Try to avoid photographing when there is strong light behind the plants or at night.

3. SAY NO TO FLASH
Unless you are a professional photographer and know your way around flashes, never use the flash on your camera/smartphone to light up your plant. The flash creates a dull photo with unnatural colours and makes it look flat. If you need extra light you can set up a large white board (foamboard - you can purchase this from your local art shop or large stationery store) next to your set-up to bounce existing natural light back onto your plants.
4. CHECK THE SURROUNDINGS
Make sure there is no stray sock, dog toy, power cord or other distracting detail in your shot...It’s easy to move the armchair just a little to the left than to try edit it out later. If you can’t move the distracting item (door frame anyone?) then re-frame the shot to either make it work or remove it altogether.
5. ADD SOME POLISH
Make use of editing apps to polish your final image. We love Snapseed for editing our pics on the go, and Pixlr if you prefer to work on a laptop or desktop. Both of these are powerful programs and are free to use! Key items we look at when editing are the brightness and contrast, exposure, image sharpening and nudging the saturation (vibrancy). Try not to use preset filters on Instagram and don’t over edit to the point that your plant looks unnatural. Think of editing as a way to highlight the good and tone down the not so good.
CREATIVE TIPS
So that’s the basics on the technical side of taking photos for Instagram. Now onto some creative tips! Read on to learn how to take a compelling pic of your plant collection:
1. ADD HUMANITY OR USE PERSONAL PROPS
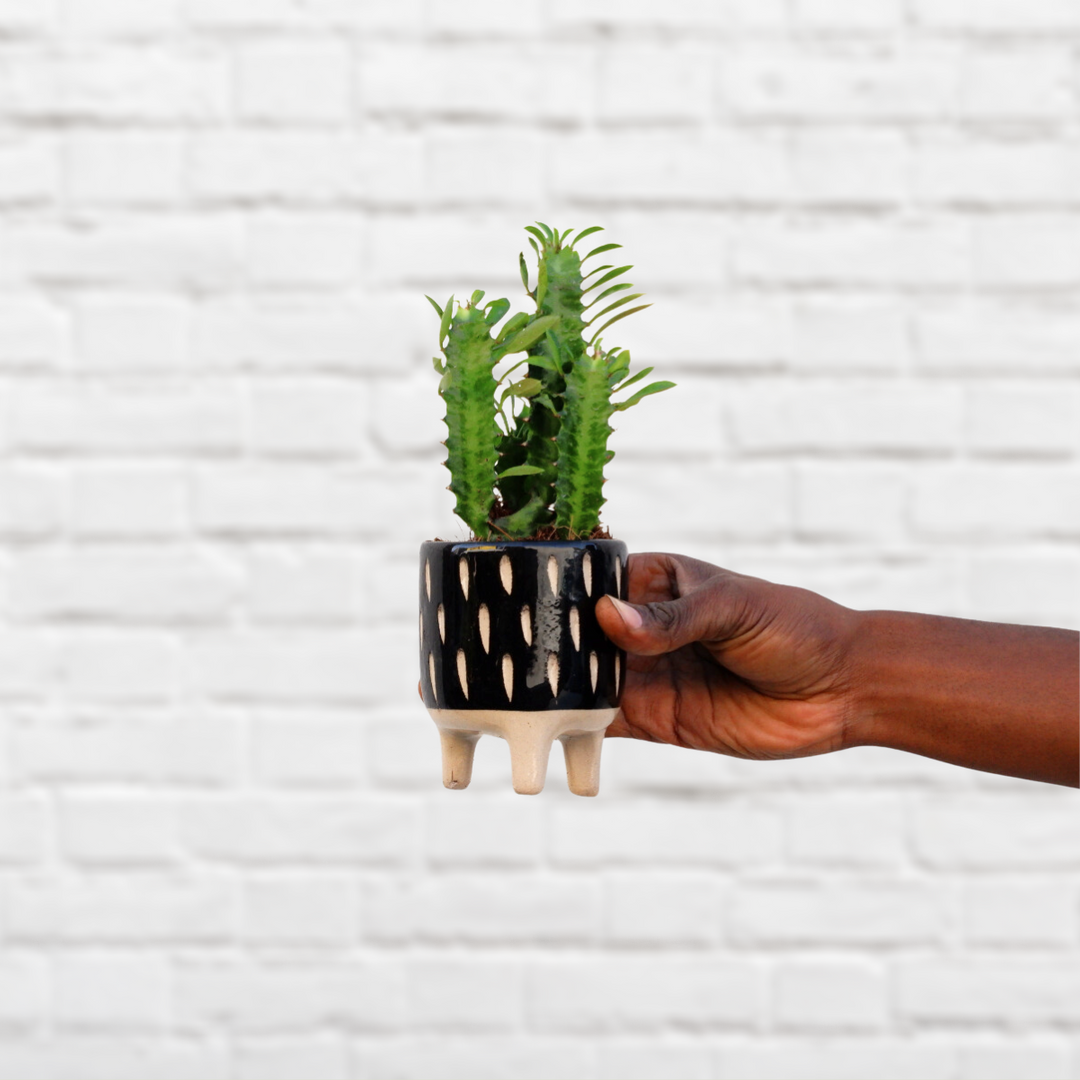
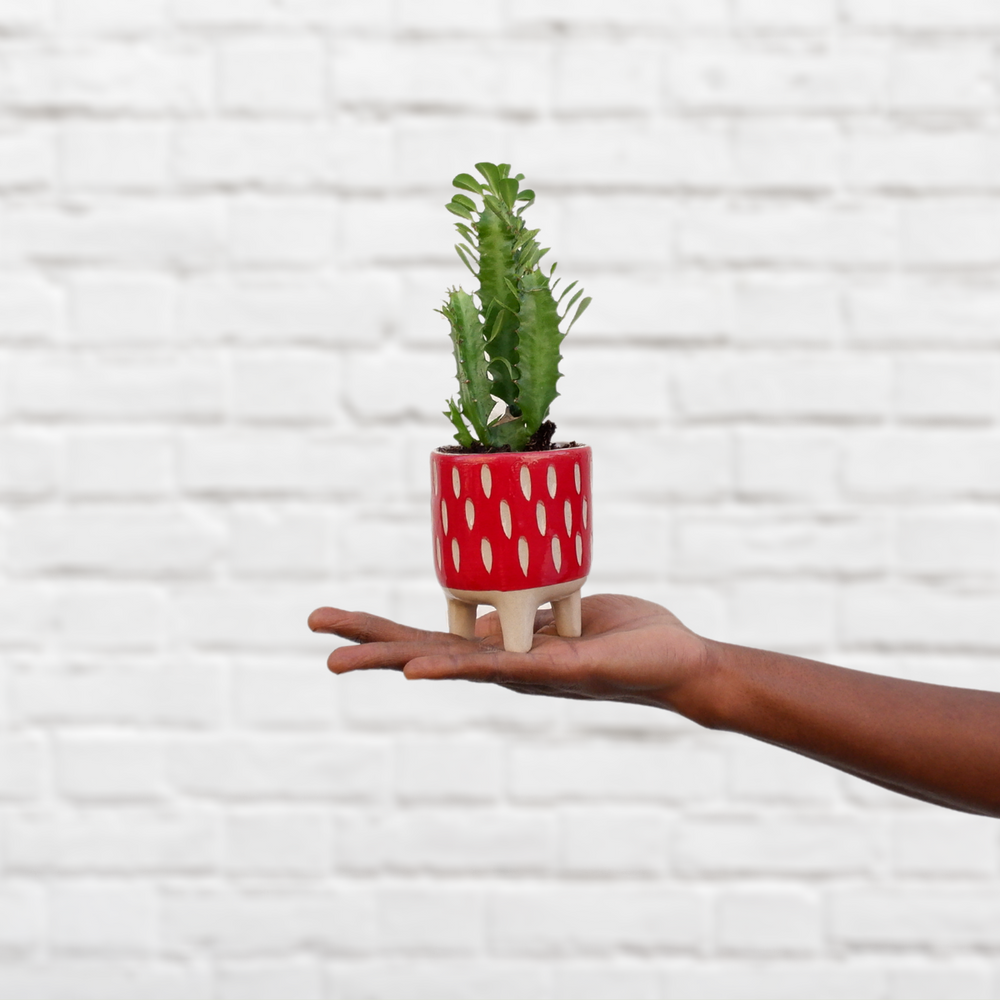
Having a little touch of human in your photo works wonders in creating a connection with your viewer. Hold your plant up, cradle it in your arms, set up a friend or family member as part of your props… the ideas are endless! Another great reason to use the human element in your snaps is to show the scale of the plant. If you want to show off a GIANT new Monstera leaf, why not take a selfie with it, or place your hand gently on it… Got a teeny, tiny seedling? Hold it between your fingers!

2. PERSONAL PROPS
While the plant is, obviously, the star of your show, including personal belongings in your shot shows your personality and creates an emotional connection with your viewers.. Some examples included a curated kitchen or living room shelf with knicknacks, your diary or journal, your favourite armchair, some candles or books or your pet. Little details help bring the photo alive!

3. SAY NO TO PLASTIC POTS
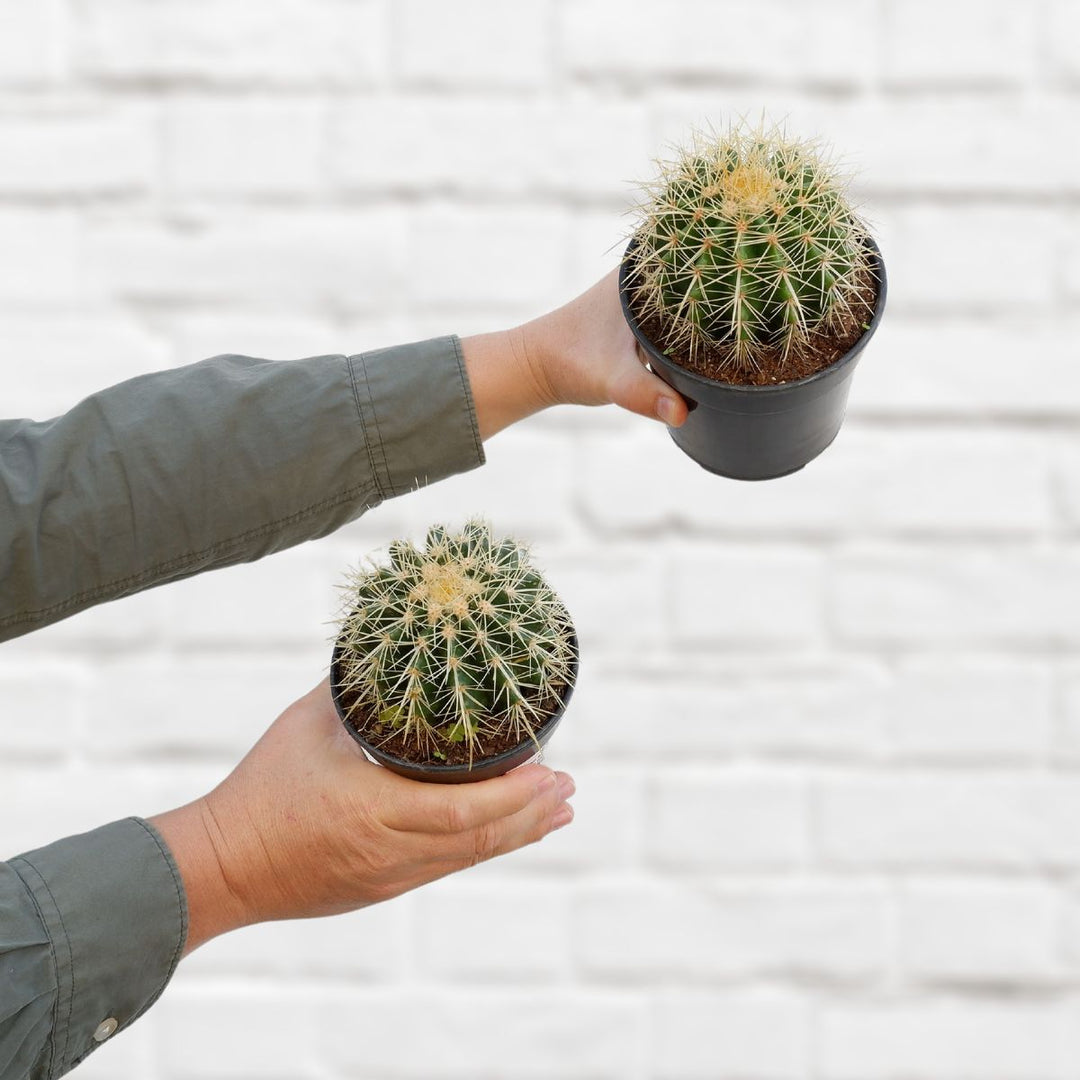
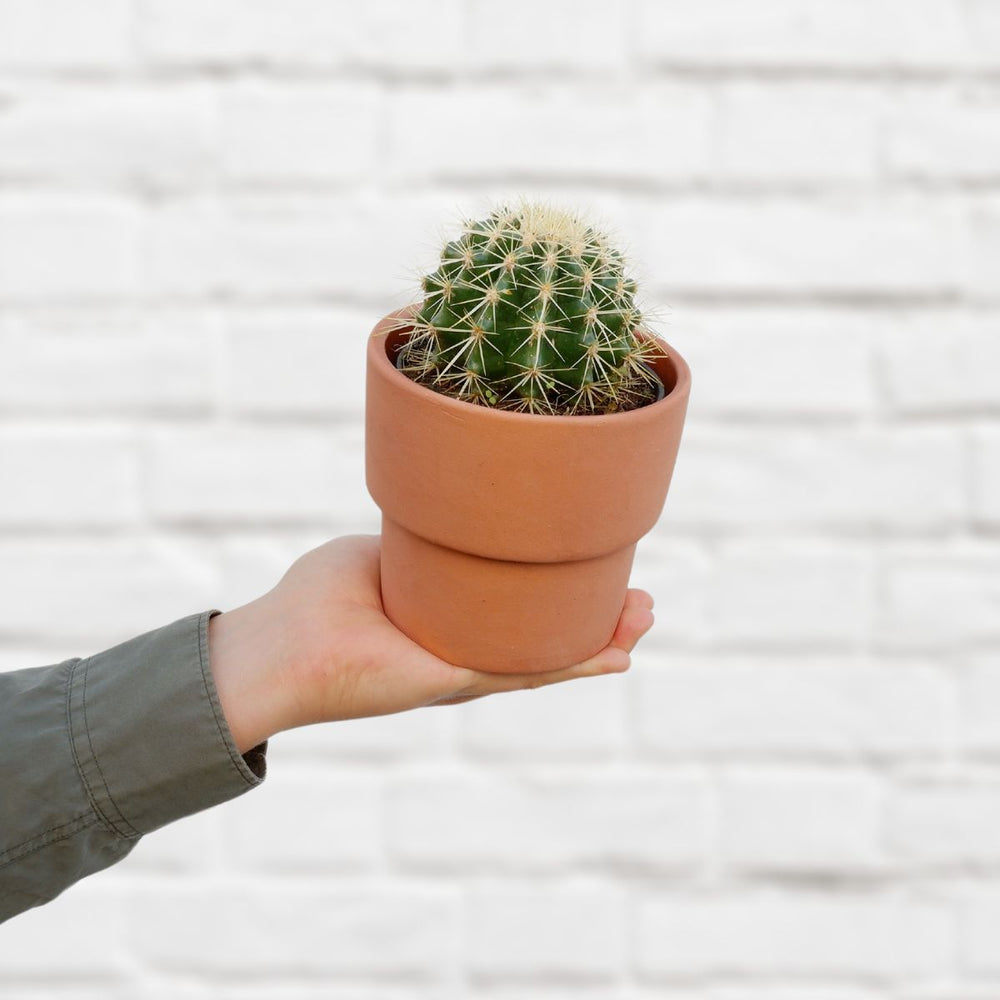
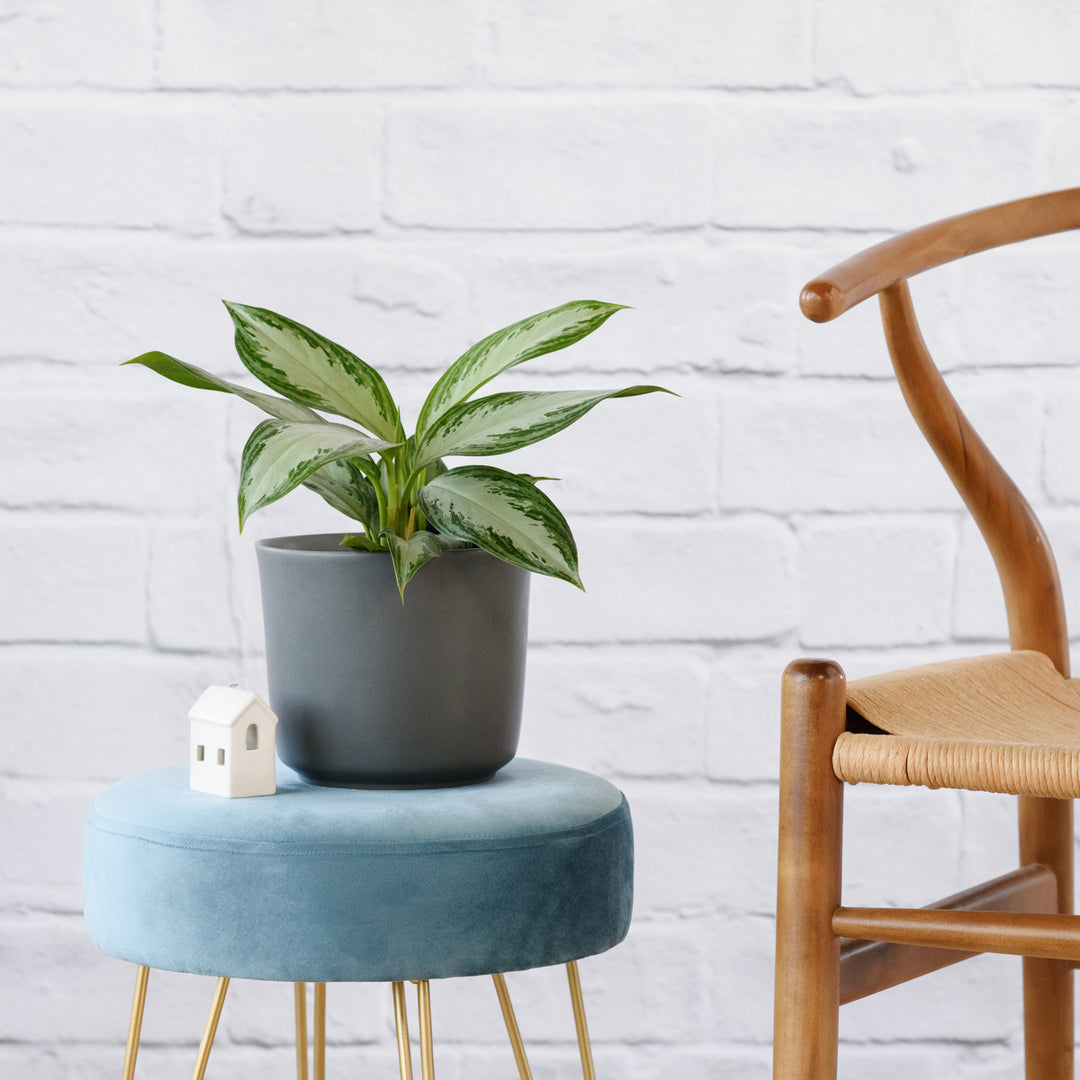
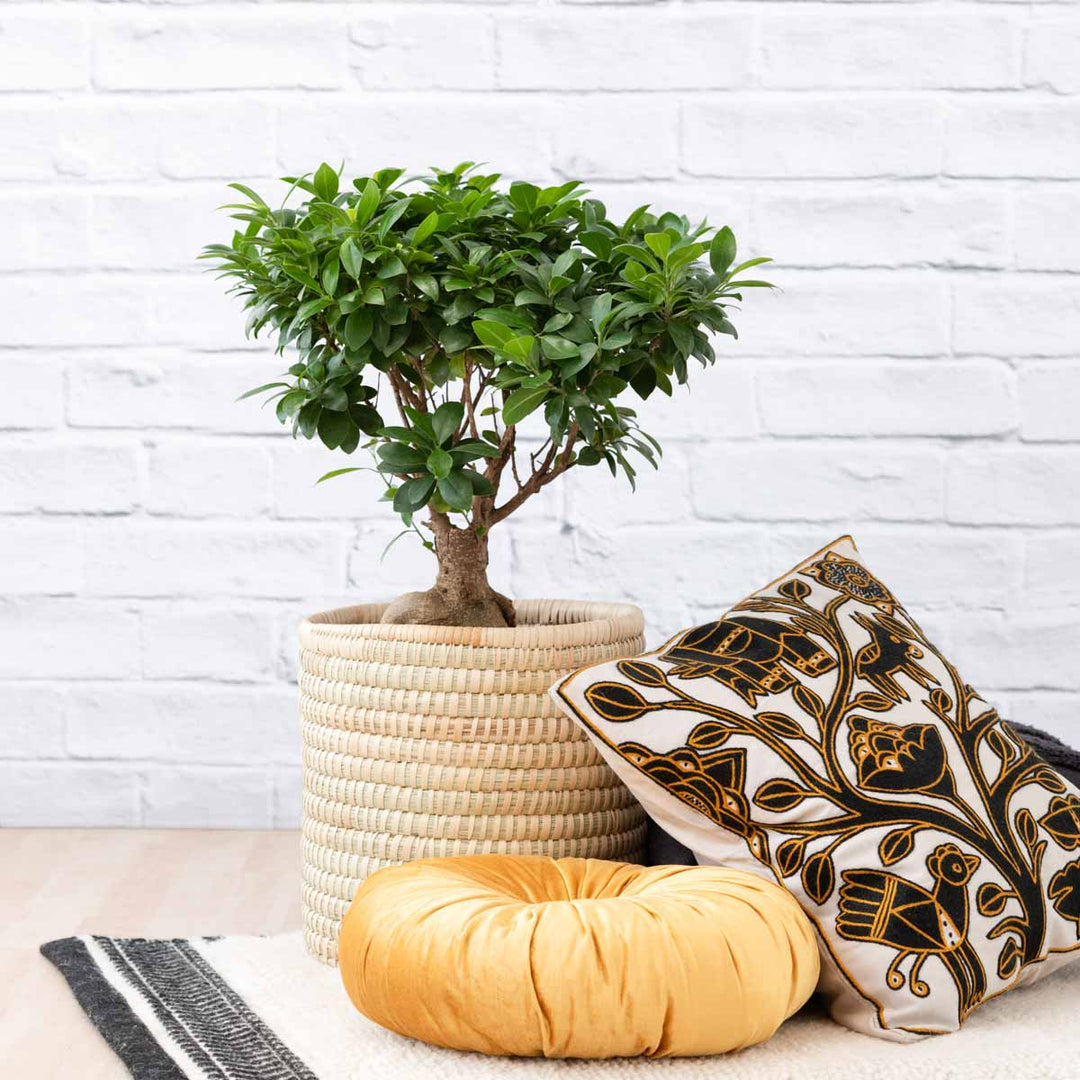
Style your plants up in gorgeous ceramics, baskets or clay planters. Just like you make sure you’re looking good before taking a selfie, your plants wanna look good too! Dress your plants with decorative pots and have great looking plants all year round! If you are on a budget or just don’t have enough pretty pots for your plant collection, style your plants so that the plastic pots are hidden as much as possible;you can do this by placing plants in pretty pots slightly in front of the plastic pots, placing personal items in front, holding the pot in your hands or tucking it in the crook of your arm, taking photos from above or DIY hacking the look by placing your plants temporarily in pretty kitchen bowls or wrapping the pots in brown paper.

4. PICK THE PHOTOGENIC ONES
Anyone who has been snapping pics of their plants will know that some plants are easier to shoot than others…We suggest getting a few iconic, easy-to-shoot, Instagram favourites for your collection. Popular choices are the Delicious Monster, Split Leaf Philodendron, Fiddle Leaf Fig (of course), Wild Bananas and any plant that vines or trails (Heart-Leaf Philodendron, Golden Pothos, Swiss Cheese Vine, Neon Philodendron, Lipstick Vines and more). When setting up your shot, turn plants around so that their leaves face the camera front on and make some adjustments as needed (little hair clips are great for holding a leaf in place). If you do have a tricky plant to shoot (the leaves do not face the camera, it only looks good from the top view, it’s a bit wild and hard to shoot properly) think of creative ways to showcase it; highlight the foliage only, photograph only a section of it, hold it in your arms, zoom in on small details….

5. DIVERSITY IS KEY
Plants which have a lot of leaves of similar size or shape can get overwhelming when grouped together and create a ‘lump’ of greenery that the eye ‘sees’ as one. We don’t want that. Create interest and diversity in your photo by mixing and matching different colours, shapes, sizes and textures together. If your plants are all the same height, make some taller by propping them up on little stools, books, plant stands or if it’s hidden, a rock or kitchen pot (hey, whatever works!). Have some plants placed closer to the camera and some further away. Variation creates interest!

6. SIMPLIFY
Image looking too busy and chaotic? Simply remove props and plants until you are happy with the image. Another way to simplify is to group the same plants together or to single out one plant and really make it shine!

7. COPY AND PASTE
There are so many great Plant-focused Instagrammers out there that you can learn so much from in a casual afternoon of scrolling. Make use of that - follow inspiring accounts and try to see why their shots work and how you can incorporate that in your own family photos. Experiment, learn and have fun!

Have some Plant Photo Tips that have worked for you?
We'd love to know. Pop them in the Comment section below...
Image Credits (in order):
[1] https://www.instagram.com/studioplants/ [2] https://www.instagram.com/homebyfousna/ [3] https://www.unsplash.com/ [4] https://www.instagram.com/acarriedaffairdesigns/ [5] https://www.instagram.com/homebyfousna/ [6] https://www.instagram.com/aljaskrt/ [7] https://www.instagram.com/ariumbotanicals/ [8] https://www.bayonabudget.com/ [9] https://www.instagram.com/mabel_and_may/ [10] https://www.instagram.com/homebyfousna/ [11] https://www.instagram.com/_t__h__o__m__a__s_/ [12] https://www.instagram.com/mavencollectpdx/ [13] https://www.instagram.com/bungalow5dk/ [14] https://www.instagram.com/plantswithben/ [15] https://www.instagram.com/littleandlush/


Leave a comment