
Moth Orchid Care Instructions
Scientific Name: Phalaenopsis sp.
Synonyms: Moth Orchid
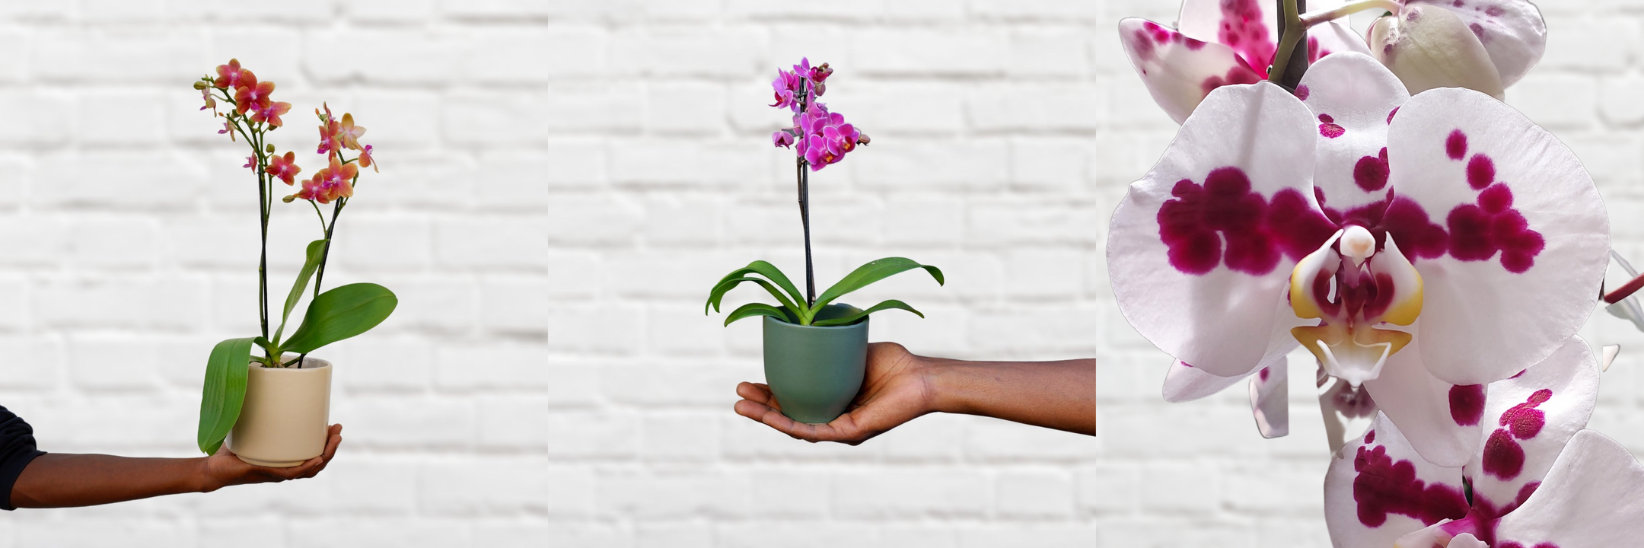
Step into the enchanting world of Moth orchids, where elegance and eccentricity meet, and nature's artistry unfolds in the most captivating way. These Phalaenopsis orchids, native to the tropical forests of Southeast Asia, are known for their flair for the dramatic. Their name, "Moth Orchid," is a nod to their delicate, wing-like petals that resemble the ethereal flutter of a moth in the moonlight.
It is simpler than you might think to provide the proper care for these beautiful plants. They can be kept healthy with indirect light, average humidity, and regular watering. If you think orchids are complicated, think again: moth orchids are the quirky, easy-going child of the plant kingdom. The only maintenance they require is weekly watering and a monthly application of orchid fertiliser.
The flowers of these alluring plants make them ideal for indoor displays. Moth Orchids are versatile enough to fit in with any design scheme, be it ultra-minimalist and contemporary or bohemian and eclectic. Nestle them in a charming pot, plant them in Glass Terrariums, or create a lush orchid oasis on your windowsill. Their striking, otherworldly blooms make for captivating centrepieces that'll spark conversations and infuse your space with a dash of the unexpected. These quirky companions are not just plants; they're living pieces of art that can turn your home into a whimsical sanctuary.
Toxicity: Orchids of this nature are not considered toxic.

Moth Orchid Common Symptoms
- Yellowing Leaves: One of the most noticeable signs of trouble in Moth orchids is the yellowing of their leaves. This can be indicative of various issues, including overwatering, underwatering, or exposure to direct sunlight. Try identify which may be affecting your plant, and rectify it by either relocating plant or watering less or more. Shrivelled silver roots are a good sign of underwater Orchids.
- Wrinkled or Shrivelled leaves: Healthy Moth Orchids store water and nutrients in their leaves and roots. When these parts appear wrinkled or shrivelled, it typically indicates a moisture-related problem, such as under-watering or root rot. If under-watering has taken place, soak your plant for 24 hours in room temperature water.
- Root Rot: If the roots of your Moth Orchid appear brown or mushy, it's likely suffering from root rot. Repot the orchid in fresh, well-draining medium and prune away the affected roots.
- Brown or Black Spots on Leaves: The presence of brown or black spots on the leaves can be a sign of fungal or bacterial infections. These issues often arise from excessive humidity or poor air circulation around the plant. Treat with Copper soap, and provide your plant with better ventilation.
- Dropping Buds or Flowers: Moth Orchids can drop buds or flowers due to sudden temperature changes, drafts, or insufficient humidity. Providing stable conditions and avoiding abrupt temperature fluctuations can help prevent premature flower loss.
- Stalled Growth: If your Moth Orchid's growth seems stunted or has stopped altogether, it may be due to inadequate fertilisation. These orchids benefit from regular, balanced feeding to support healthy growth and abundant blooms.
-
Crown Rot: Crown rot in Moth orchids (Phalaenopsis) is a troubling condition where the central area, known as the crown, succumbs to fungal or bacterial infections, often due to excessive moisture. Common symptoms include browning or blackening of the crown, which can spread quickly to the leaves and roots, causing wilting, yellowing, or even complete plant collapse. Preventative measures like proper watering and well-draining pots are essential in avoiding this issue. If crown rot is detected, prompt action is vital, as it can lead to the deterioration of the entire orchid if left untreated.
Treating crown rot in orchids is urgent. Remove affected tissue with a sterile tool. Allow the crown to dry thoroughly. Apply a fungicide, let it dry, and reposition the orchid. Ensure proper ventilation and limit watering. - Not flowering: Phalaenopsis can be a captivating addition to your indoor garden, but they might occasionally exhibit a reluctance to bloom. Several factors can contribute to this common issue. One key factor is the need for proper lighting; insufficient light can hinder the development of flower spikes. Over-fertilisation, excessive temperature fluctuations, or root damage can also play a part. To encourage your moth orchid to bloom, ensure it receives the right amount of indirect sunlight, maintain a consistent care routine, and avoid overfeeding. Patience and care will often reward you with those elegant, delicate blossoms.
-
Pests: Moth Orchids are not often susceptible to pests but if care is not taken to keep your plant in its optimal condition to avoid stress occurring. Stress will lead to pest infestations causing excessive leaf discolouration and leaf drop. Mealybug, Spider Mite and Thrips are the most common indoor plant pest to be attracted to your Moth Orchid and can weaken your plant relatively quickly if left untreated. Adjust environmental stressors for your houseplant and treat infestations with an organic pesticide.
Moth Orchid Care Instructions
- Origin: Southeast Asia
- Height: Phalaenopsis Orchids typically have a size range of 30 to 90cm in height, and their spread can be around 30 to 60cm. However, their size may vary depending on the specific variety, growing conditions, and care they receive.
-
Light: Bright filtered light is best. Avoid direct sunlight.
-
Water: To water a moth orchid while safeguarding the crown (centre of the leaves), follow these steps.
TOP TIP: Do not use ice to water your Orchid, this leads to root shock and an unhappy plant.
- Assess Moisture Levels: Stick your finger about an inch into the potting mix to determine if it's dry. Watering is needed when it feels dry to the touch.
- Choose the Right Time: Water your orchid in the morning to allow excess moisture to evaporate during the day.
- Water at the Base: Gently pour room-temperature water directly into the potting mix, avoiding contact with the crown and leaves.
- Drain Excess Water: Ensure your pot has drainage holes to prevent water accumulation. Discard any excess water that collects in the saucer.
- Consistency is Key: Maintain a regular watering schedule to keep the orchid hydrated without overwatering or letting it dry out. Be sure to wait until the roots are silver when watering.
- Humidity: Preferably 50% or higher. To raise the humidity for your plant. Place a plant on a pebble tray. Will also tolerate average room humidity if care is taken with watering.
- Temperature: Orchids prefer warm environments of between 17°C and 27°C.
- Soil: A well-draining Orchid bark mix is ideal. Avoid potting soil at all costs.
- Fertilizer: Fertilise once a month from Spring to Autumn with a Diluted Balanced Liquid Fertiliser or an Orchid feed.
- Pruning: This is only necessary once the flower spike has turned brown and crisp. Moth Orchids can rebloom on green flower spikes. When cutting, cut above the last node at the base of the spike.
- Repotting: Repotting a moth orchid is a rejuvenating process crucial for its health. Begin by selecting a slightly larger pot with good drainage. Carefully remove the orchid from its old pot, trimming any damaged roots. Fill the new pot with Orchid-specific Potting Mix, positioning the orchid so that the base of the leaves rests just above the mix's surface. Gently pack the mix around the roots. Water lightly to settle the mix. Ensure indirect light for a few weeks as the orchid adjusts. Repotting every 2-3 years helps prevent root overcrowding and maintains your Moth Orchid's vitality.
- Propagation: Propagation of Moth Orchids can be an exciting venture. To start, select a healthy flower stem with at least three nodes. Cut the stem just below a node and place it in a small container with orchid-specific media. Keep it in a warm, humid location with indirect light. After a few months, new roots should develop, and you can transfer the young orchid to a pot. Patience is key, as it may take time for the new plant to reach flowering maturity. Propagation offers a rewarding way to share the beauty of moth orchids with friends and family. You will need patience and a proper environment for successful propagation over the course of five months!

